Unity visibility optimization
Occlusion culling pays off when the level gives it something solid to hide behind.
Interior scenes are a strong candidate because walls and rooms naturally separate visibility. Bake it, visualize what disappears, and confirm the runtime trade is actually worth it.
Frustum culling removes what is outside the camera. Occlusion culling can remove what is inside the camera frustum but completely hidden.
Unity’s current occlusion documentation says the technique works especially well when small, clearly separated spaces are blocked by solid geometry, with rooms connected by corridors as the classic case.
It also has a CPU and memory cost. Use it because a scene structure benefits from it, not because the checkbox exists.
Occlusion setup
Treat visibility as part of the level structure
A good bake starts with clear choices about what can block the camera and what only needs to disappear.
Mark large solid geometry as occluders
Walls, buildings, and other opaque static forms are useful blockers. Tiny props are usually poor candidates for doing the blocking.
Mark hidden static objects as occludees
Furniture, clutter, props, and other renderers can be removed when they sit behind valid occluders.
Bake the visibility data
Use Window > Rendering > Occlusion Culling, then generate data for the scene after the static flags and layout are ready.
Visualize from gameplay cameras
Move the camera through doors, corners, stairs, and narrow passages. Watch for objects that vanish too early or remain visible too long.
Measure the trade
Compare CPU, GPU, and memory behavior before and after. Occlusion data is useful only when the hidden rendering work costs more than the culling overhead.
Room separation
Doorways and partitions create useful visibility breaks
Think beyond one open box. A back room, stair turn, storage wall, divider, or corridor can improve both scene composition and visibility control. You still need to test the actual camera path because an occluder that is visually large may not hide the expensive content you care about.
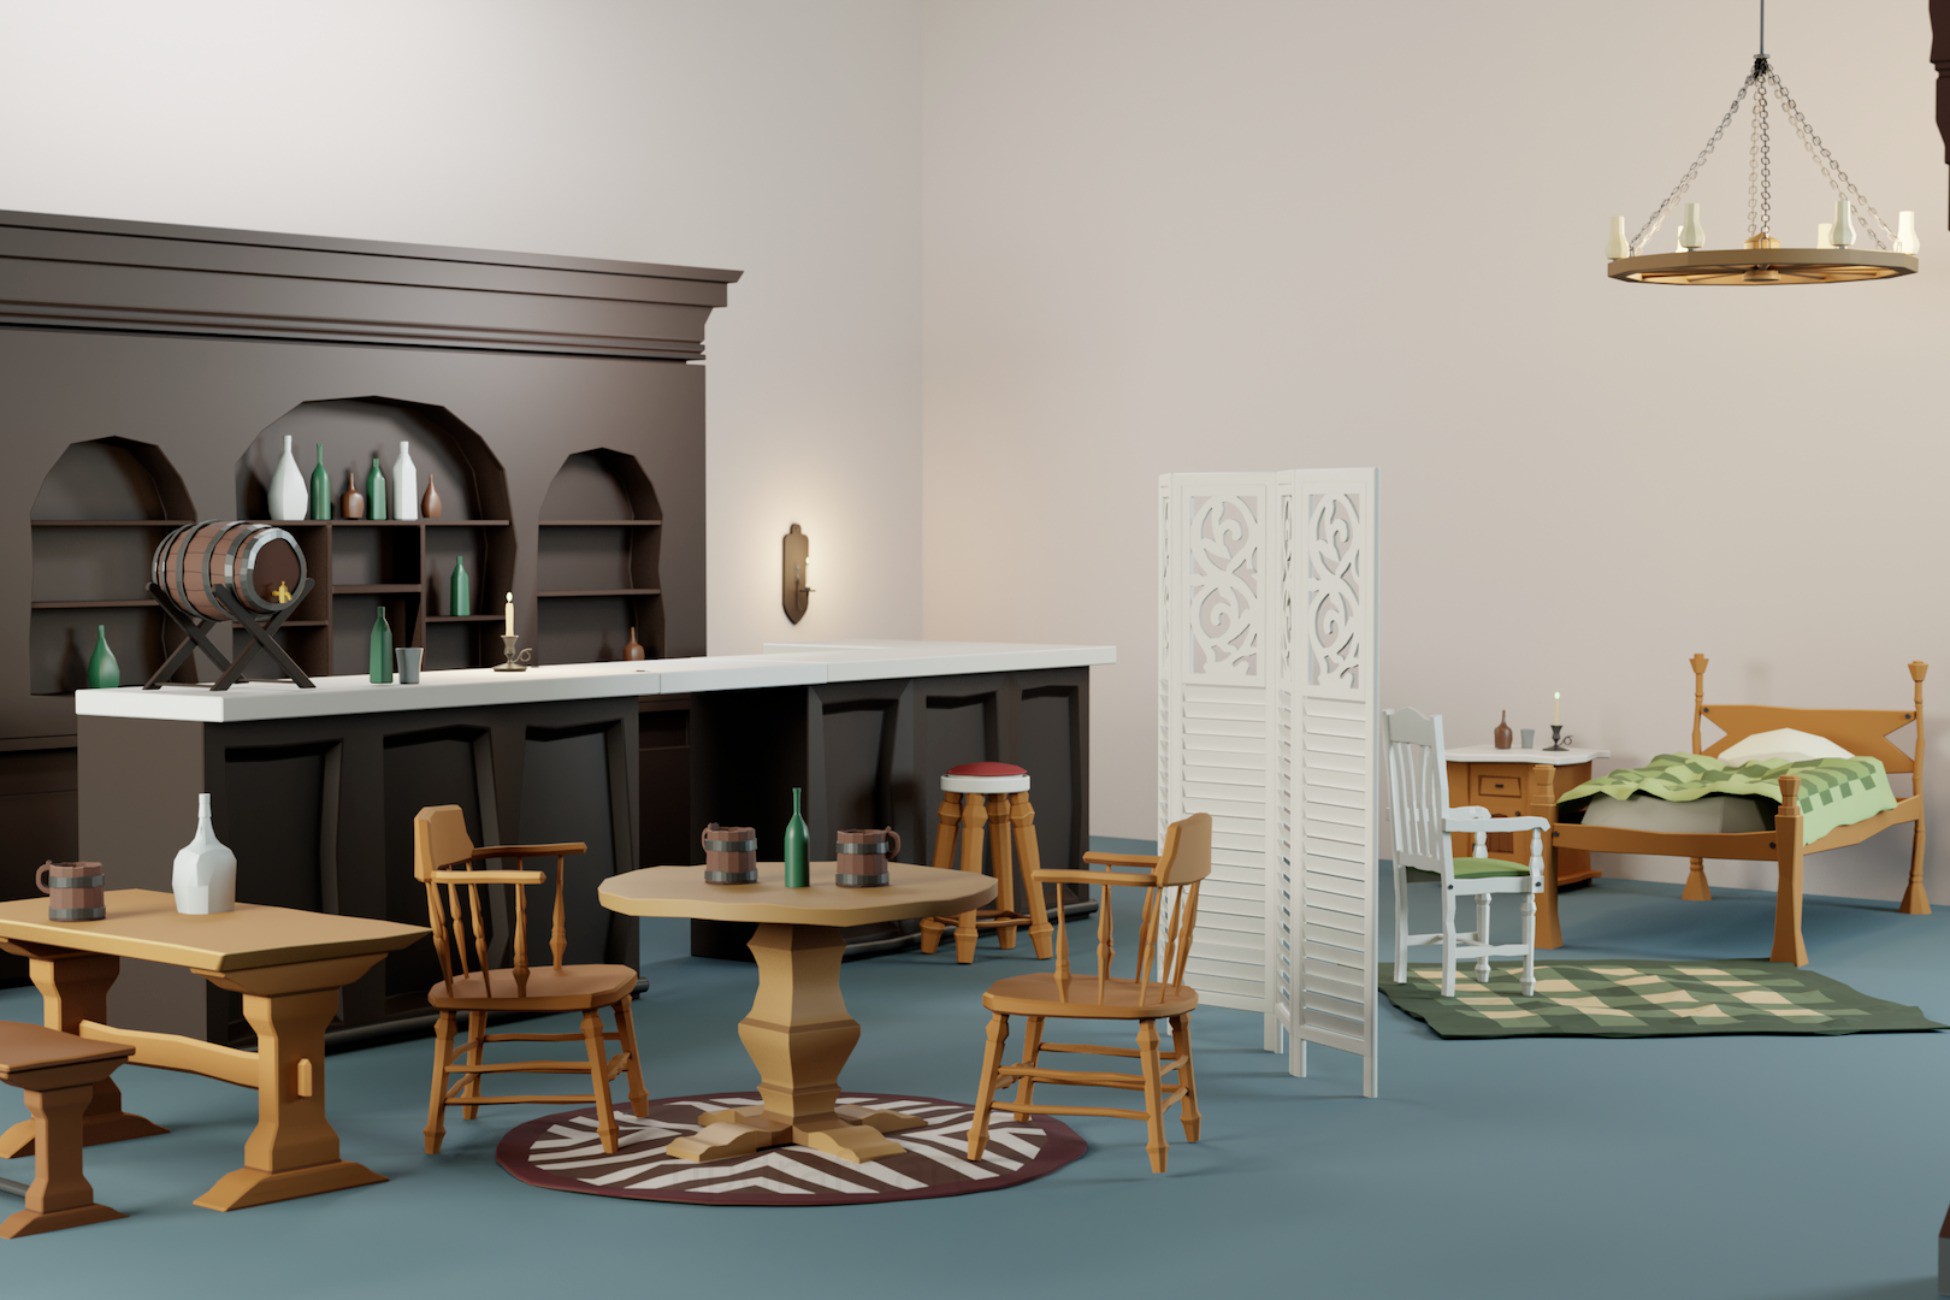
A tavern interior with separate zones gives the camera more opportunities to lose sight of props behind solid geometry.
Small props
Let the room hide clutter instead of asking every clutter prop to be clever
Small props can disappear behind the walls, counters, and room divisions that already make architectural sense. This is another reason to establish the large scene structure before filling every surface.
Cookware and small dressing pieces are good occludees. They are not the geometry that should define the occlusion structure.
Interior scene layers
Build the visible rooms with cohesive prop sets
Stylized Tavern Props Pack
Furniture, bar modules, lighting, and clutter for a dense tavern interior once the shell and visibility structure are in place.
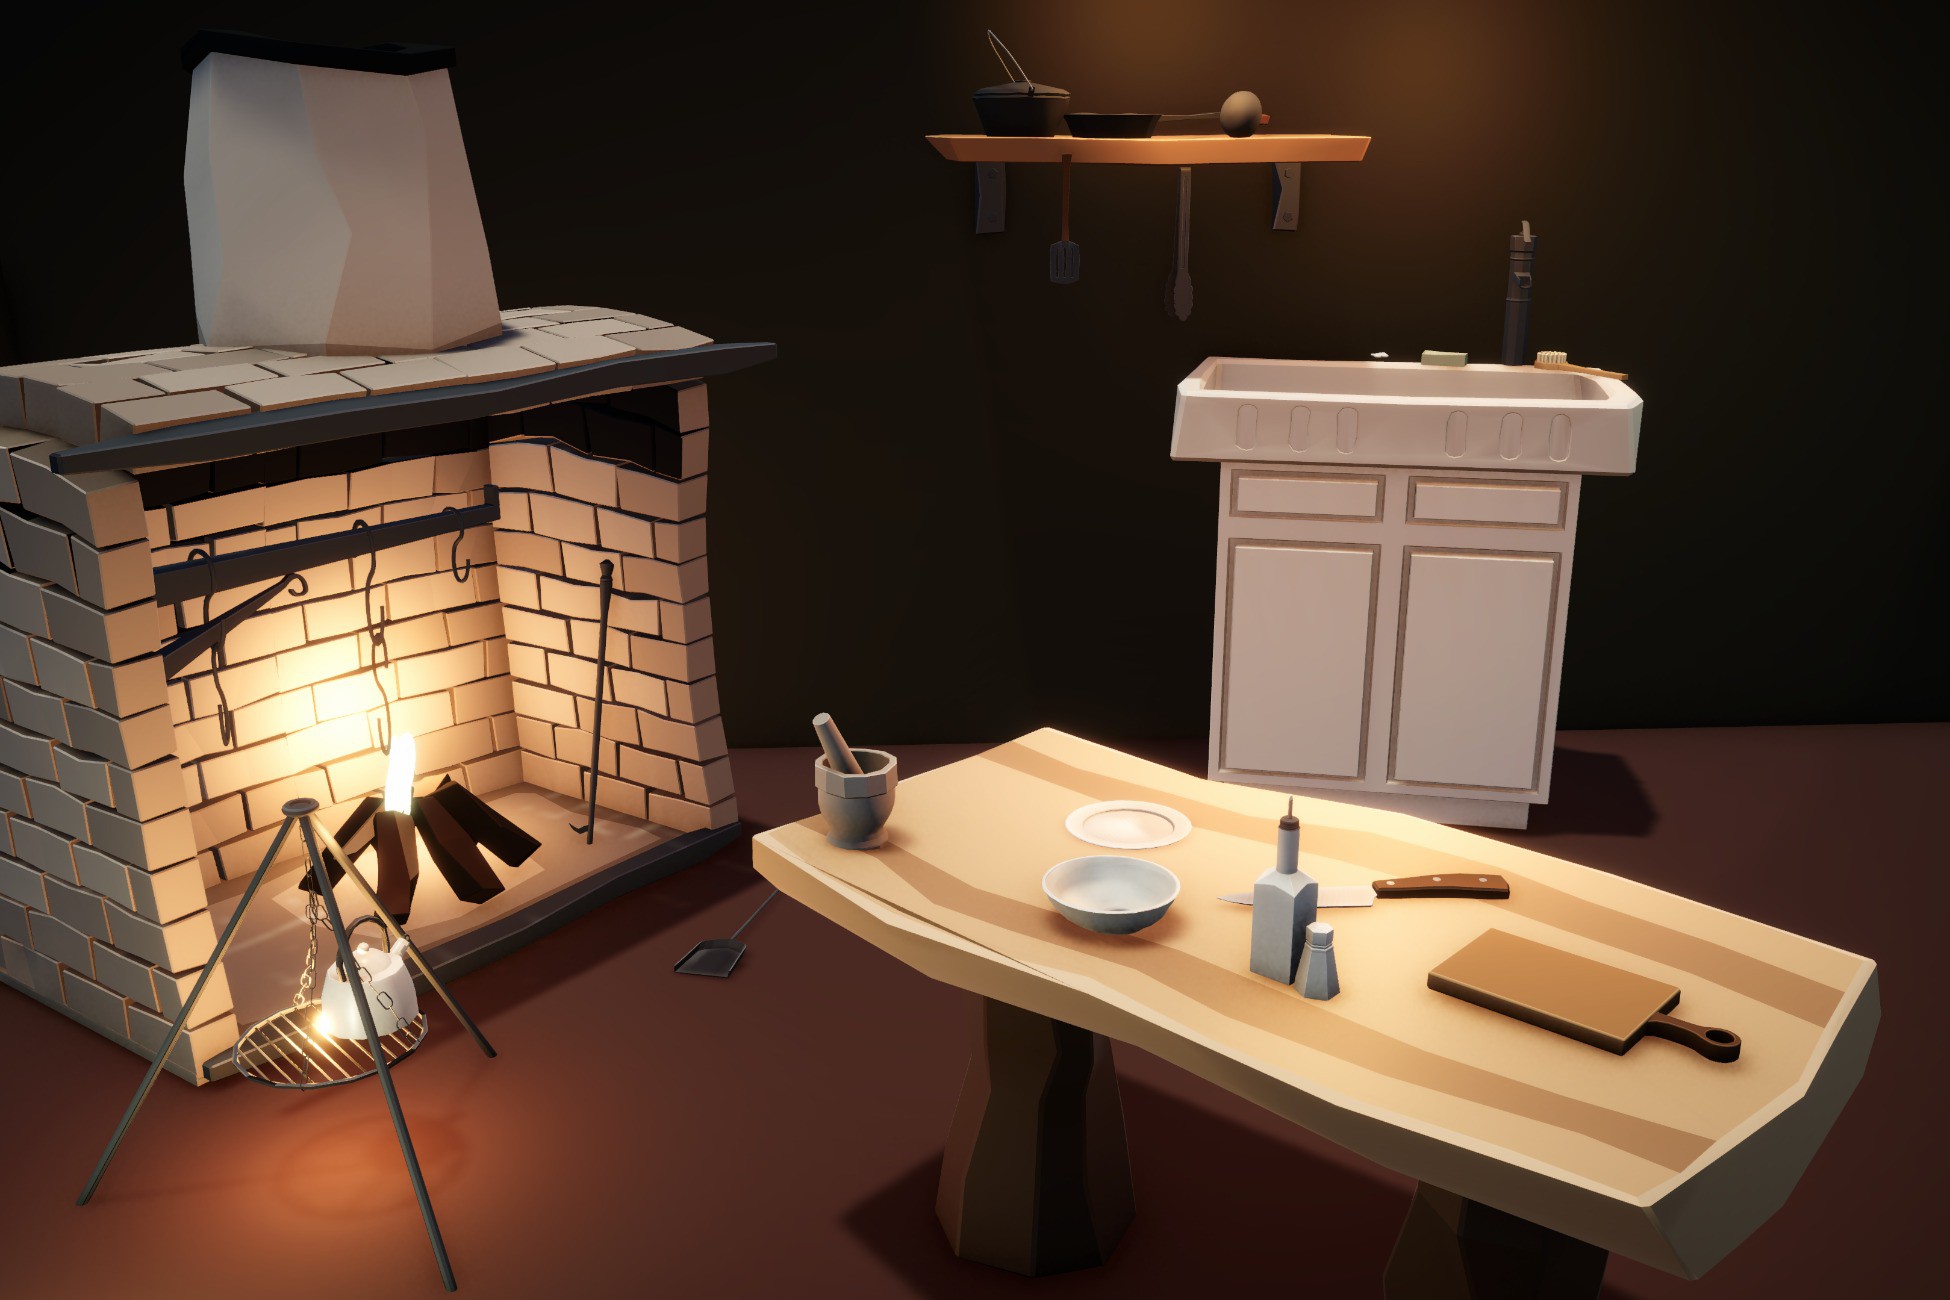
Stylized Medieval Kitchen Props Pack
Hearth, prep, cookware, and small set-dressing pieces for a secondary room or back-of-house space.
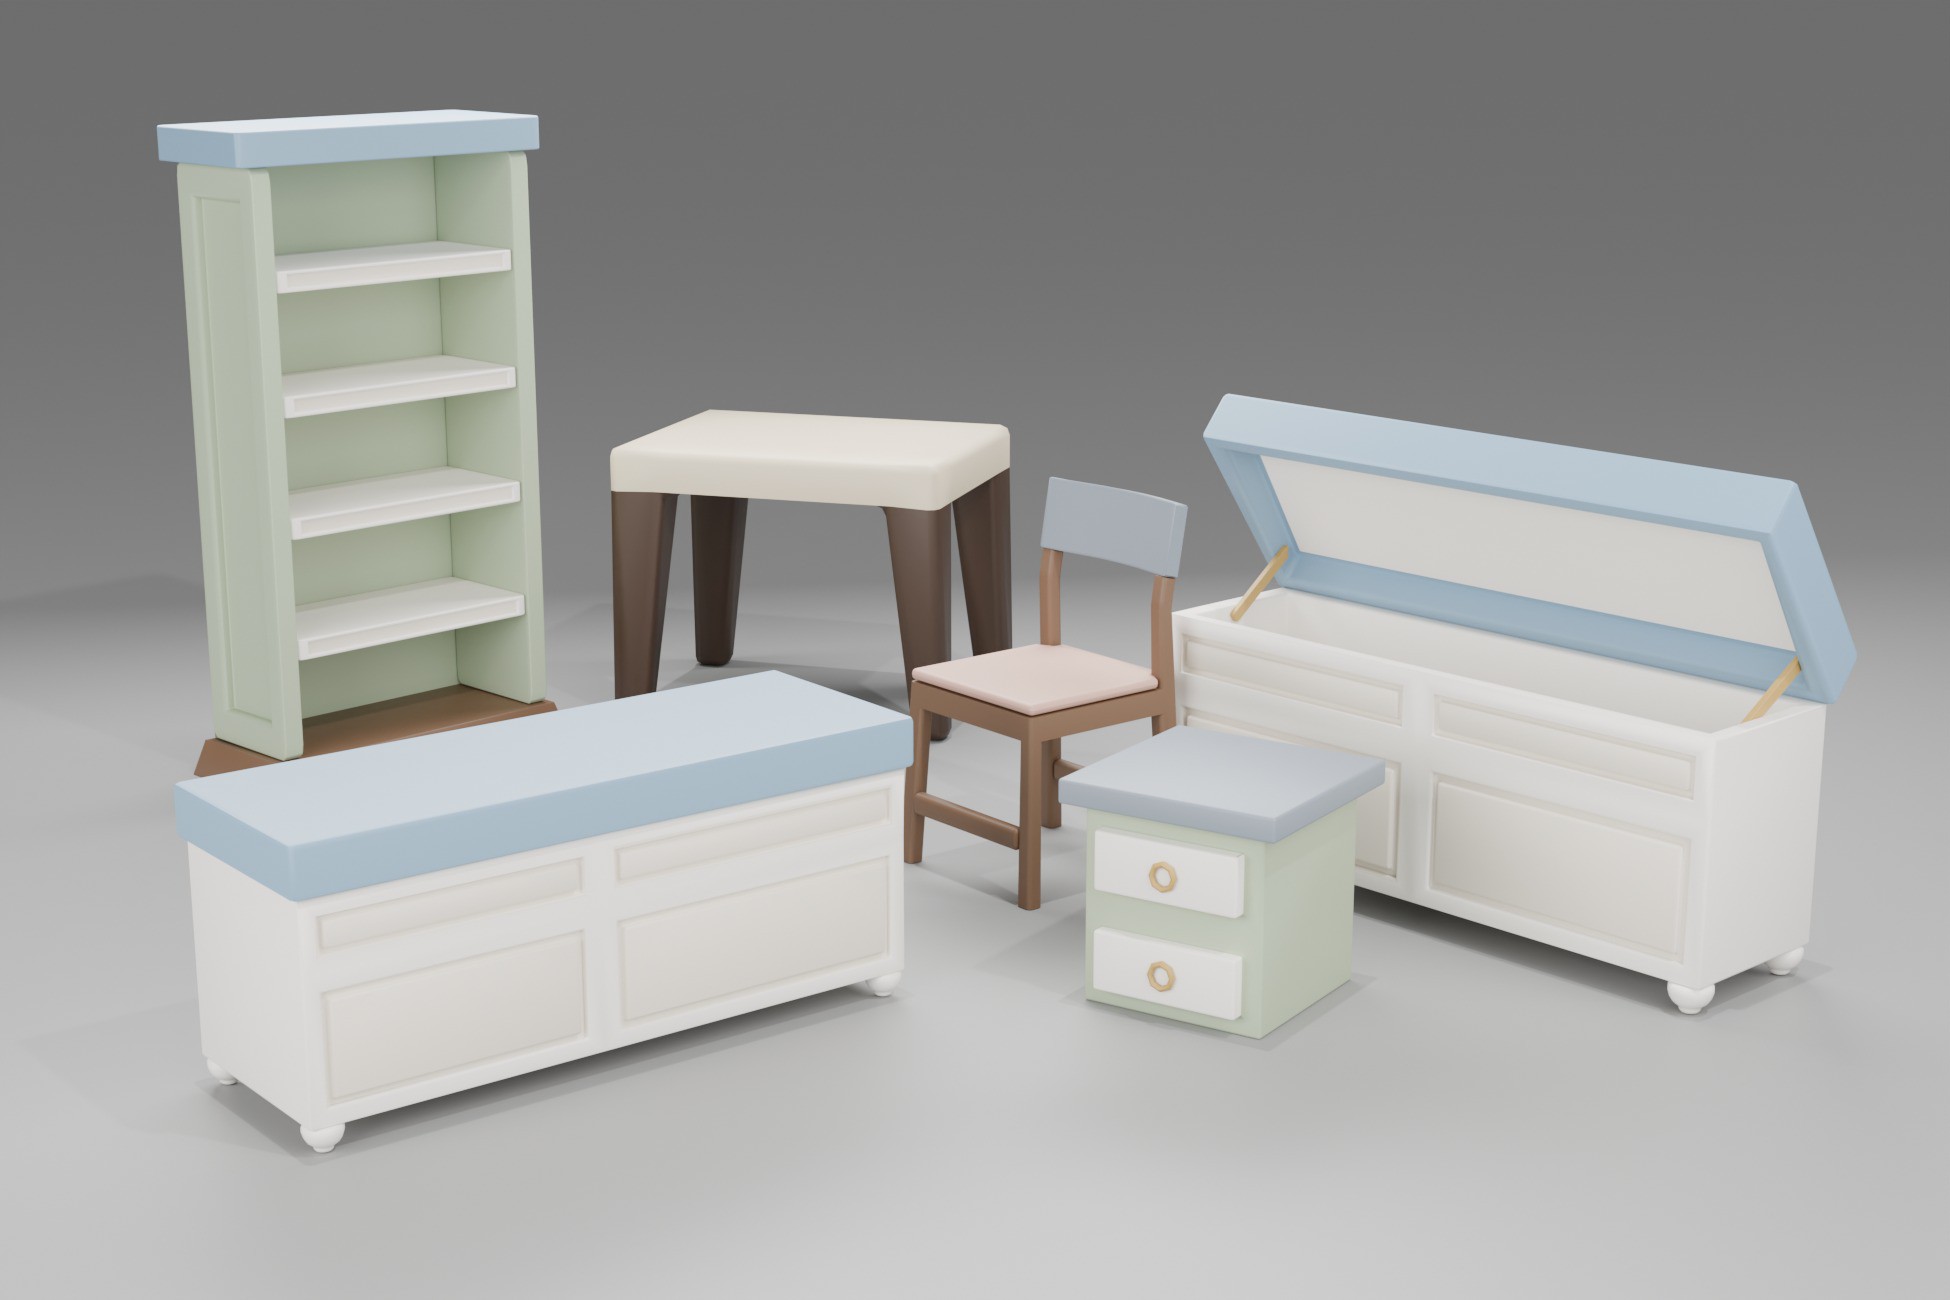
Stylized Cottage Furniture Set
A compact furniture layer for bedrooms, cottages, and quieter interior zones.