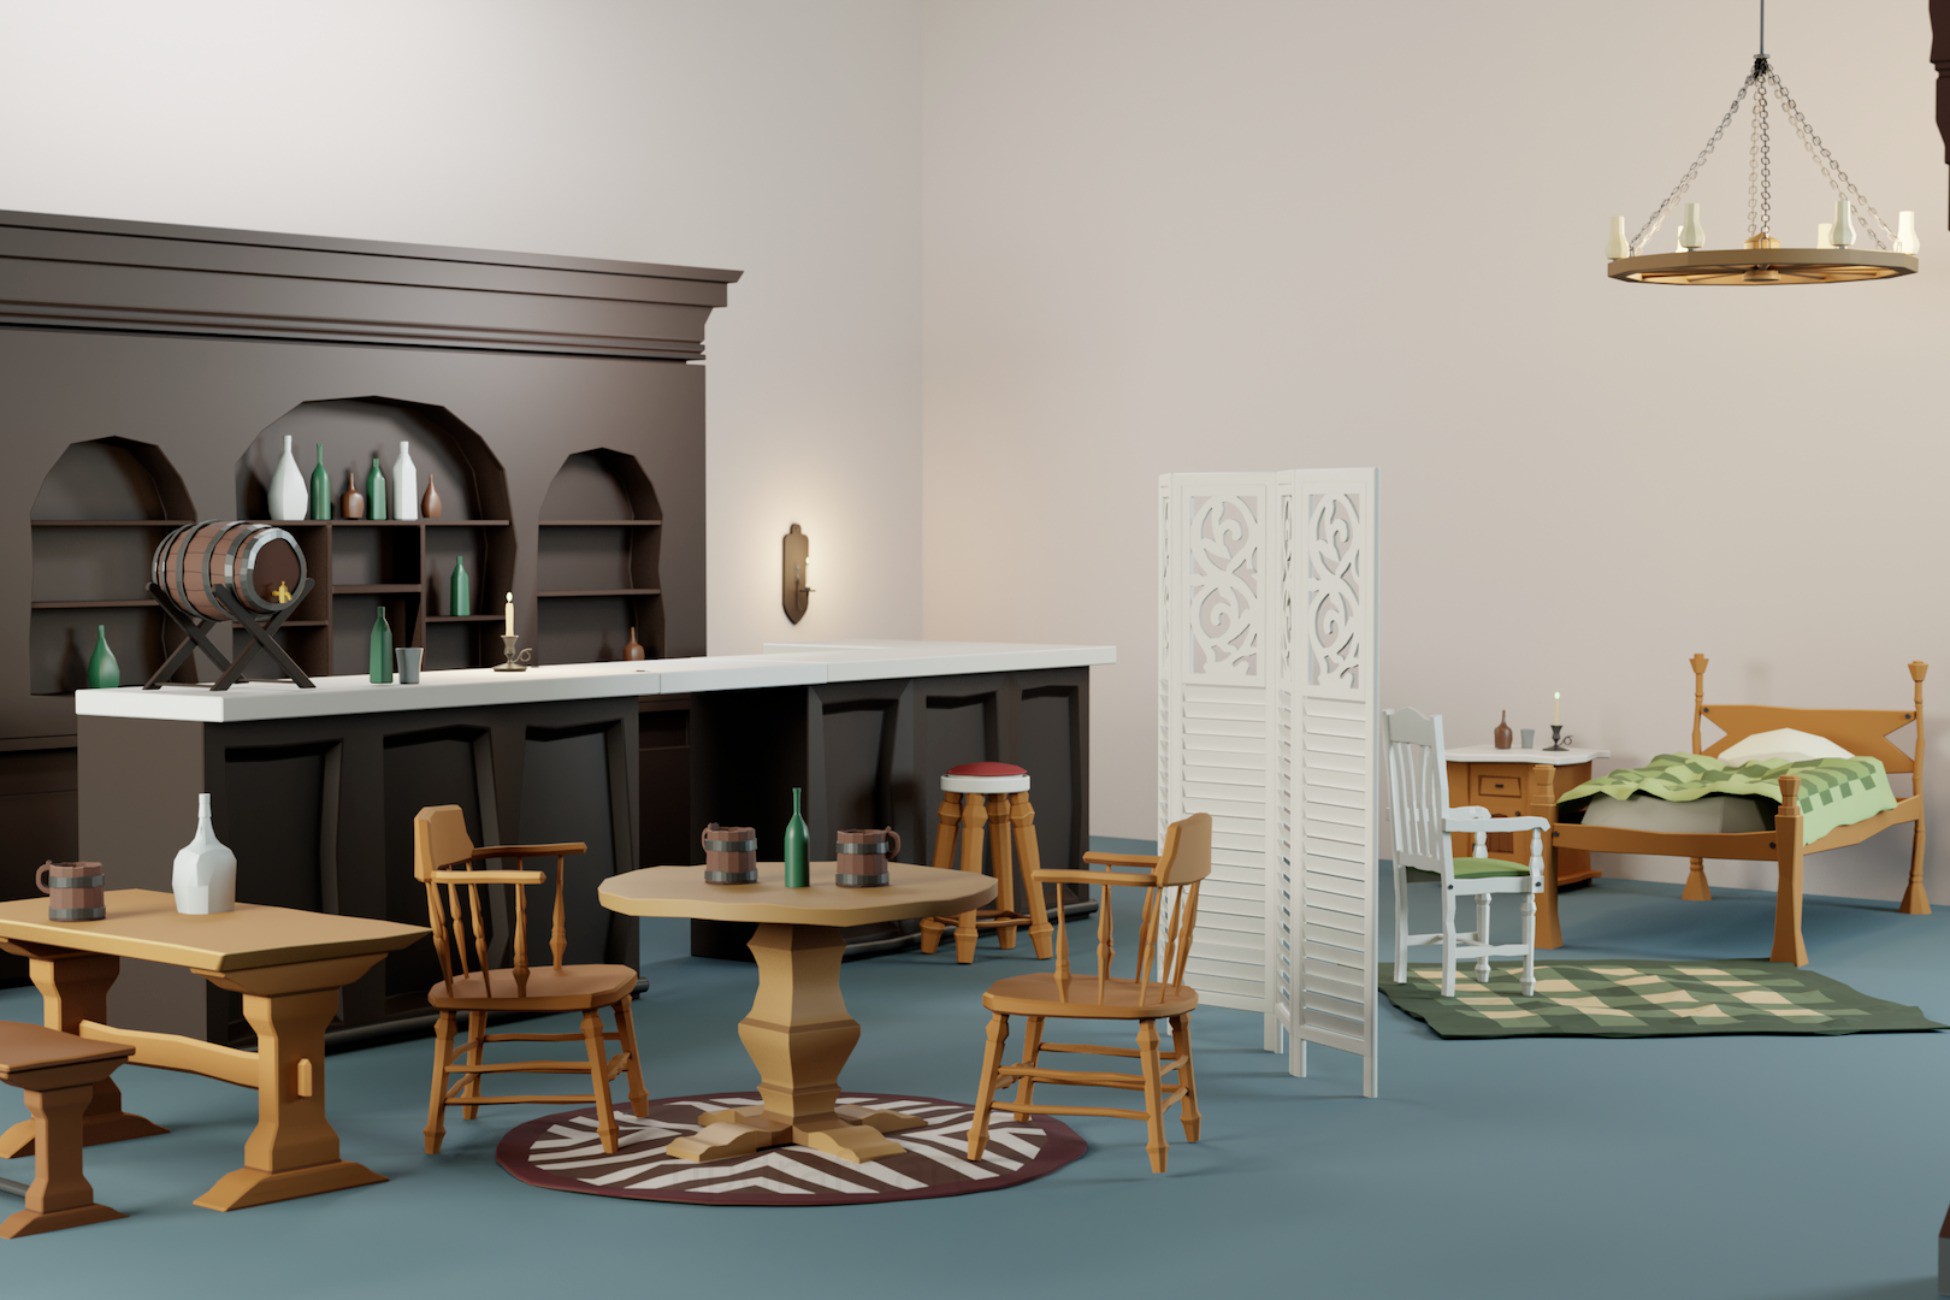
Unity performance guide
Optimize the frame you have, not the problem you imagine.
Environment optimization works best as a measurement loop. Find the expensive part, change one class of work, test again, and keep the visual hierarchy intact.
Polycount is only one number. It is rarely the whole diagnosis.
Start with Unity’s Rendering Profiler, Frame Debugger, and target-device profiling. Look at draw calls, batches, SetPass calls, triangles, vertices, GPU time, and the parts of the scene that stay visible when they do not need to.
Unity’s Rendering Profiler documentation explains the current rendering counters. Use those numbers to choose the next step instead of applying every optimization trick at once.
Optimization order
Run the scene through five passes
The order matters because later changes are easier to judge when you know what the frame was spending time on first.
Measure one representative view
Profile a real gameplay camera, not an empty test scene. Record frame time and rendering counters before changing anything.
Reduce state and material churn
Shared materials, compatible shaders, and the right batching or instancing path can reduce CPU rendering overhead without changing the composition.
Stop drawing hidden work
Use culling and scene layout so walls, terrain, and large forms actually prevent unnecessary objects from contributing to the frame.
Simplify what is still expensive
Trim oversized meshes, costly transparency, dense particles, unnecessary lights, and detail that is too small to matter at gameplay distance.
Test on the real target again
A change is useful only if it moves the actual bottleneck. Keep the visual version that meets the performance budget instead of optimizing by habit.
Asset structure
A small material vocabulary can matter more than shaving a few triangles
Unity 6 has several draw-call optimization paths, and the right one depends on render pipeline and project settings. The common starting point is still straightforward: avoid unnecessary material variation and keep objects on compatible shader paths when you can. Unity’s current draw-call guide is the reference for choosing SRP Batcher, GPU Resident Drawer, instancing, or batching.
The Viking Coast Village kit uses one material across the environment set, which keeps the pack simple to reason about when profiling.
Visibility
Design the environment so large forms can hide small ones
Occlusion culling is most promising in spaces where solid geometry divides the scene into clear areas. Unity calls out rooms connected by corridors as a strong case. Open outdoor scenes need a different strategy because far more of the environment may remain visible at once.
Rooms, corridors, walls, and strong occluders can make visibility management much more useful than an open field full of tiny objects.
Detail budget
Spend geometry and effects where the player can actually read them
Optimization is also art direction. Put the richest detail near interaction points and route changes. Let distant terrain and low-value surfaces stay quiet. This protects both performance and readability because the eye is not competing with uniform detail everywhere.
Small ground detail earns its keep around paths, landmarks, and camera-near areas. It does not need to cover every square meter.
Production shortcuts
Use cohesive packs when the bottleneck is production time, not frame time
Stylized Viking Coast Village Kit
A compact coastal environment kit with one material, LOD-ready prefabs, modular docks, and a strong landmark.

Stylized Forest Ground Clutter Pack
Ground-detail pieces and reusable clusters for adding density only where the environment needs it.
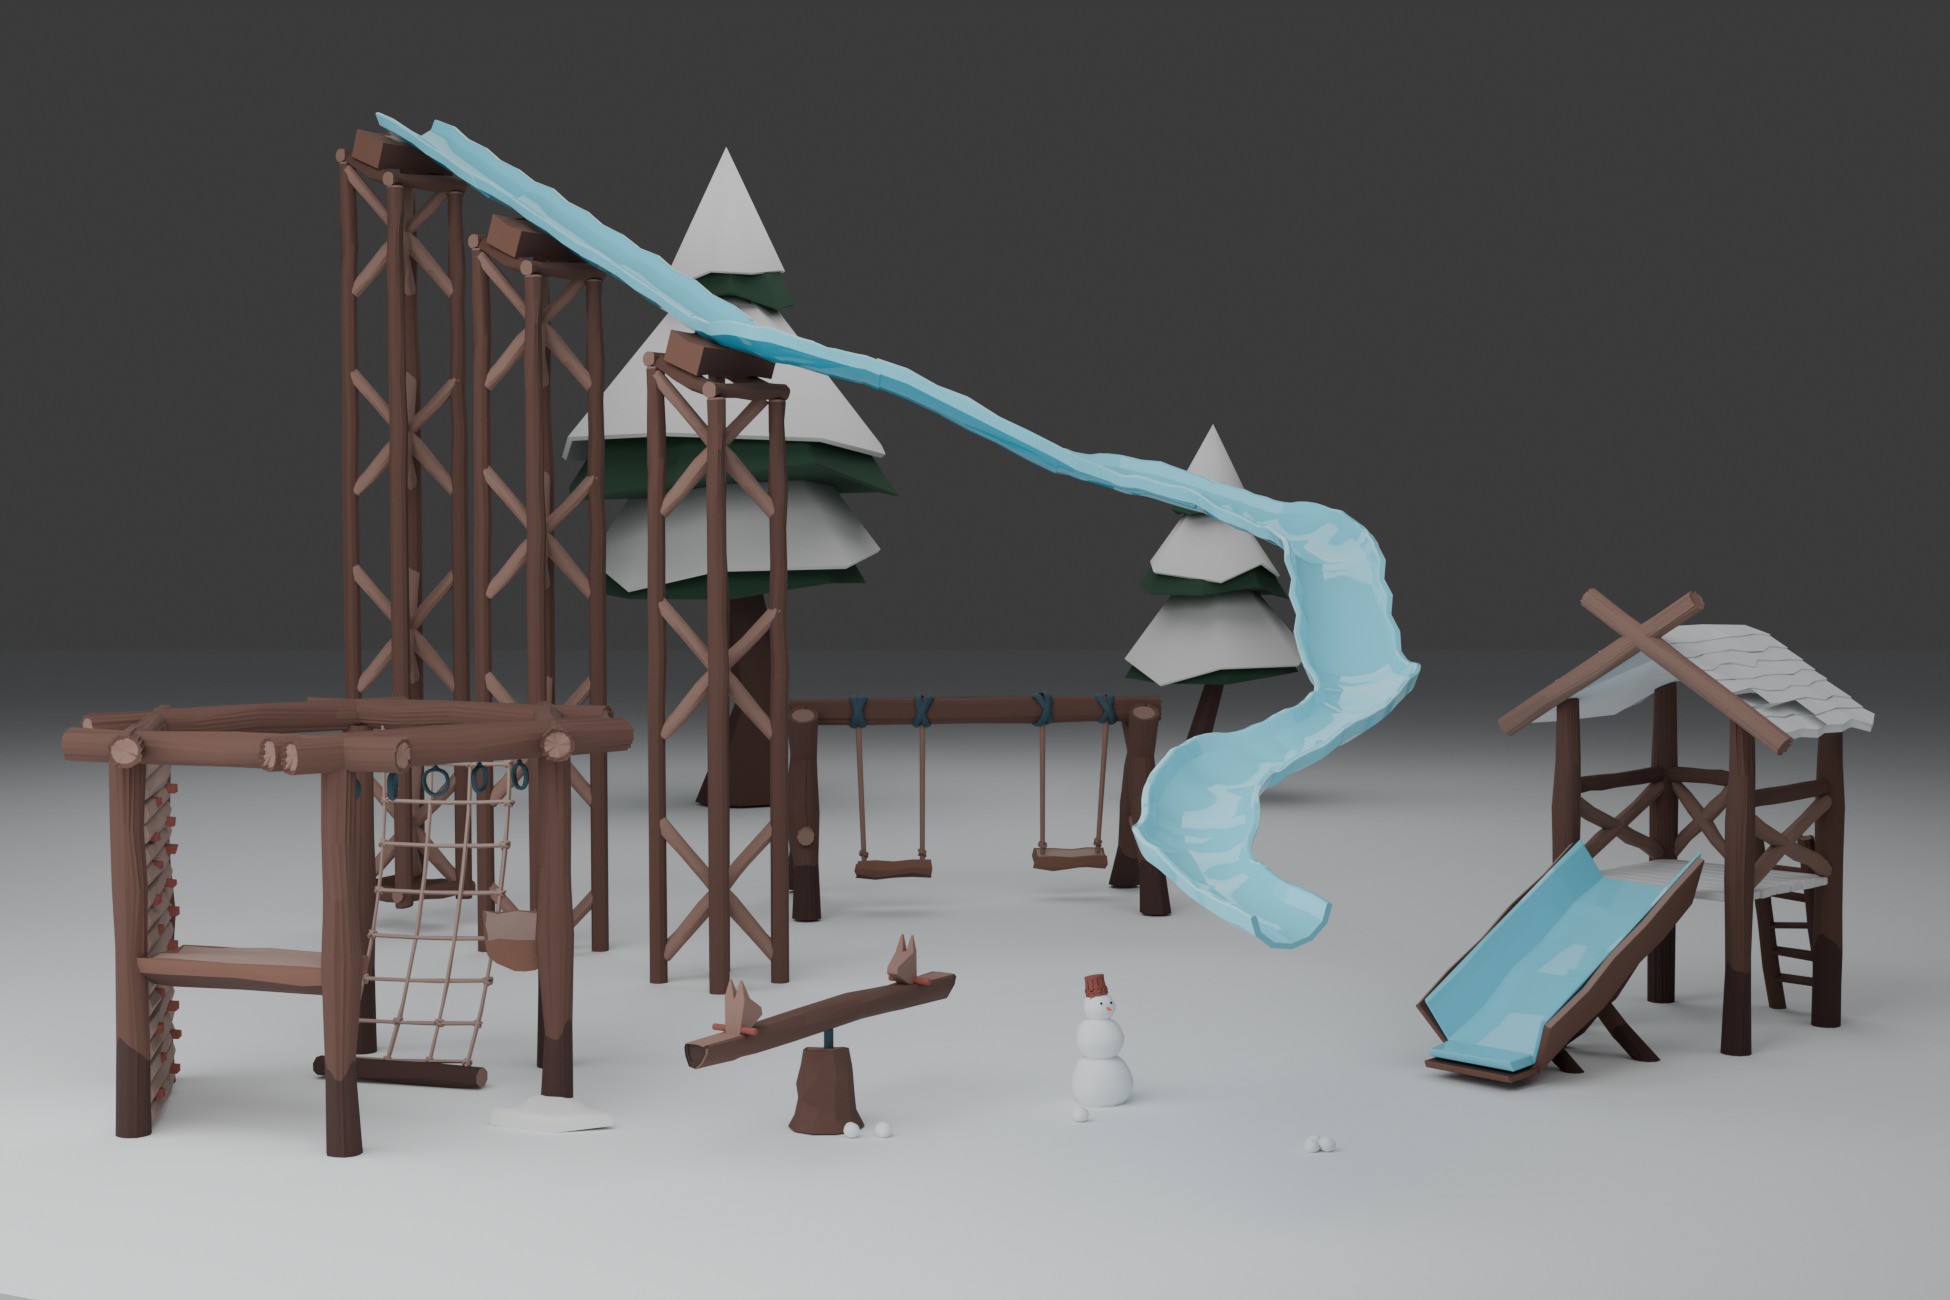
Stylized Winter Playground Pack
A compact winter environment set with one atlas material and readable large-form playground props.